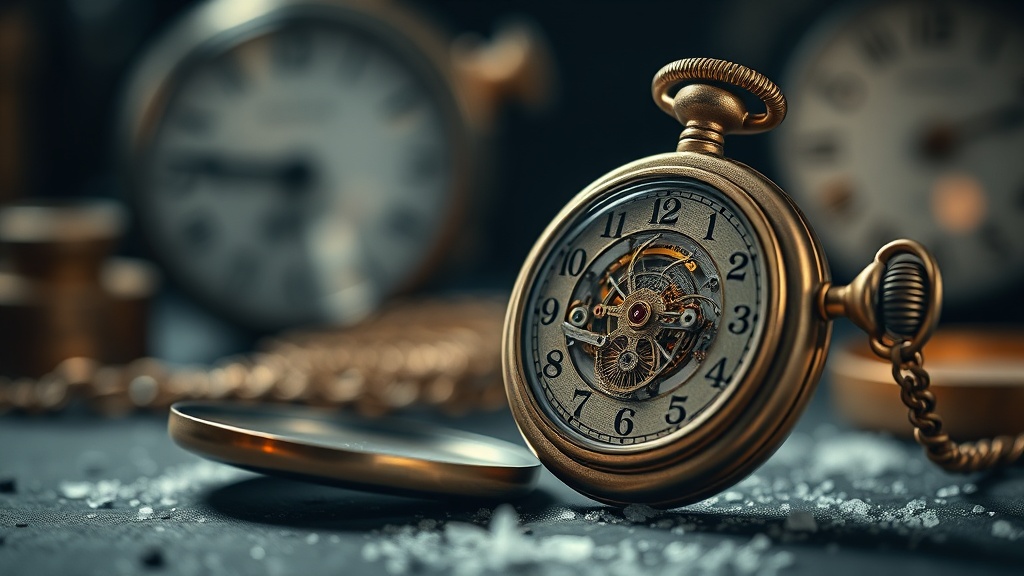
Cleaning Your Vintage Pocket Watch Movement Safely

Have you ever opened the back of a vintage timepiece only to find a tiny, dried-up speck of old oil or a bit of dust sitting right on the balance wheel? It’s a heart-sinking moment. This post explains how to safely clean a vintage pocket watch movement using professional-grade tools and techniques to prevent permanent damage to your collection.
Cleaning a movement is a completely different beast than simply polishing a case. When you're dealing with the internal gears—the wheels, pinions, and escapement—you're working with parts that are often thinner than a human hair. One wrong move with a solvent or a clumsy hand can ruin a piece of history. If you aren't ready to commit to a long process of disassembly, you might want to skip this and head to a professional. But if you're a dedicated hobbyist, let's get into the technical side of things.
What Tools Do I Need to Clean a Watch Movement?
You need a specialized set of horological tools, specifically a high-quality movement holder, fine tweezers, and specialized cleaning solutions. You can't just use household items here; the chemistry matters.
First, let's talk about the workspace. You need a dedicated, brightly lit area. A desk lamp with a magnifying lens is a good start, but a professional jeweler's loupe is better. You'll be looking at things that are nearly invisible to the naked eye. Don't try to do this under a standard kitchen light—you'll go blind from eye strain before you even finish the first wheel.
Here is a checklist of the foundational items you'll need:
- Rodico: This is a green, putty-like substance used to pick up tiny bits of dust or oil without leaving residue.
- Peg Wipes: These are small wooden sticks used to clean pivot holes and gear teeth.
- High-Grade Cleaning Solvent: I recommend using specialized products like professional watch cleaning solutions rather than anything from a hardware store.
- Fine Tweezers: Look for anti-magnetic, precision-tipped tweezers.
- Movement Holder: This keeps the movement stable while you work.
- A Brushing Tool: A small, soft-bristled brush to whisk away loose debris.
One thing to note: don't use isopropyl alcohol from the pharmacy unless it's high-purity (99%). Standard 70% alcohol contains water and additives that can leave a film on your brass plates. That film will eventually attract more dust, defeating the whole purpose of the cleaning.
How Do You Clean a Watch Movement Without Damaging It?
The safest way to clean a movement is to completely disassemble it into individual parts before applying any cleaning agents. Never, under any circumstances, attempt to "wash" an entire assembled movement with liquid.
If you try to pour cleaner over an assembled movement, the liquid will get trapped in the gear teeth and the pivots. When the liquid eventually dries, it leaves behind a sticky residue or even causes oxidation. This is why disassembly is the only way to go. It’s tedious, yes, but it's the only way to ensure every single part is truly clean.
Once you have disassembled the movement, you'll deal with the parts in stages. The goal is to remove old, oxidized oil and any microscopic debris. Most collectors use a "parts cleaning" method where they soak small groups of parts in a specialized solution, then rinse them, and finally dry them immediately.
The Disassembly Order:
- Remove the balance wheel assembly (this is the most delicate part).
- Remove the escapement components.
- Unscrew the bridges and plates.
- Separate the gear train (the wheels and pinions).
- Organize all screws and tiny parts in a segmented tray.
Wait, before you dive in—are you sure you want to do this? If the watch is a high-value heirloom, like a Patek Philippe or an early Waltham, the stakes are incredibly high. If you're just practicing on a lower-cost piece, go for it. But if the movement is irreplaceable, consider hiring a professional watchmaker instead. A mistake in the escapement can be a permanent death sentence for the movement.
When you are cleaning the parts, you'll often use a peg wire cleaner. You dip the wire into the cleaning solution and gently rotate it through the pivot holes. This ensures that the holes are perfectly clean and ready for fresh oil. It’s a slow, meditative process. If you're rushing, you're going to break a pivot. Take your time.
After the parts are cleaned, they must be dried perfectly. Any moisture left on a brass plate will cause discoloration. I use a specialized drying oven or even just a very controlled, warm air source to ensure everything is bone-dry before reassembly.
Is It Better to Use Ultrasonic Cleaners?
Ultrasonic cleaners are excellent for cleaning small, sturdy components, but they can be dangerous for delicate, vintage parts. You should only use an ultrasonic cleaner for parts that can withstand high-frequency vibrations without breaking.
The catch is that the vibration from an ultrasonic cleaner can actually shake apart a delicate screw or a tiny spring if you aren't careful. It’s also not a substitute for the manual cleaning required for the most intricate parts of a movement. I usually reserve the ultrasonic cleaner for the larger brass plates or the heavy-duty gears, but never for the balance or the hairspring. The hairspring is far too sensitive for that kind of treatment.
If you do use one, make sure you are using a specific jewelry-grade cleaning solution. Using a generic cleaner can lead to chemical reactions that strip the plating off your vintage parts. You want to preserve the patina and the metal integrity, not strip it bare.
| Method | Best For | Risk Level |
|---|---|---|
| Manual Peg Wiping | Pivots and gear teeth | Low (if gentle) |
| Rodico Cleaning | Surface dust and oil spots | Very Low |
| Ultrasonic Cleaning | Large plates and heavy gears | Moderate |
| Chemical Soak | Removing old, dried oil | High (if not dried correctly) |
After the cleaning is done, the most important step is re-oiling. A clean movement is a useless movement if it isn't lubricated. You'll need high-quality synthetic oils like Moebius. You'll apply a microscopic amount to the pivots and the escapement. Too much oil is just as bad as too little—it will attract dust and create a grinding paste that wears down your metal parts.
If you've spent all this time cleaning the movement but neglected the exterior, the watch will still look aged and worn. If you want to ensure the exterior matches the pristine state of your cleaned movement, check out my guide on keeping your vintage pocket watch case polished and bright. It's a great way to round out your maintenance routine.
Once the movement is back together and oiled, test the timing. A clean movement should run smoothly and consistently. If you notice it's running slow or erratic, you might have missed a piece of debris or applied too much oil to a specific jewel. Don't be discouraged—mastering the movement is a lifelong skill.
Steps
- 1
Prepare a Clean Workspace
- 2
Use Compressed Air for Dust
- 3
Apply Precision Cleaning Solutions
- 4
Inspect Under Magnification